Team Management
Inviting users
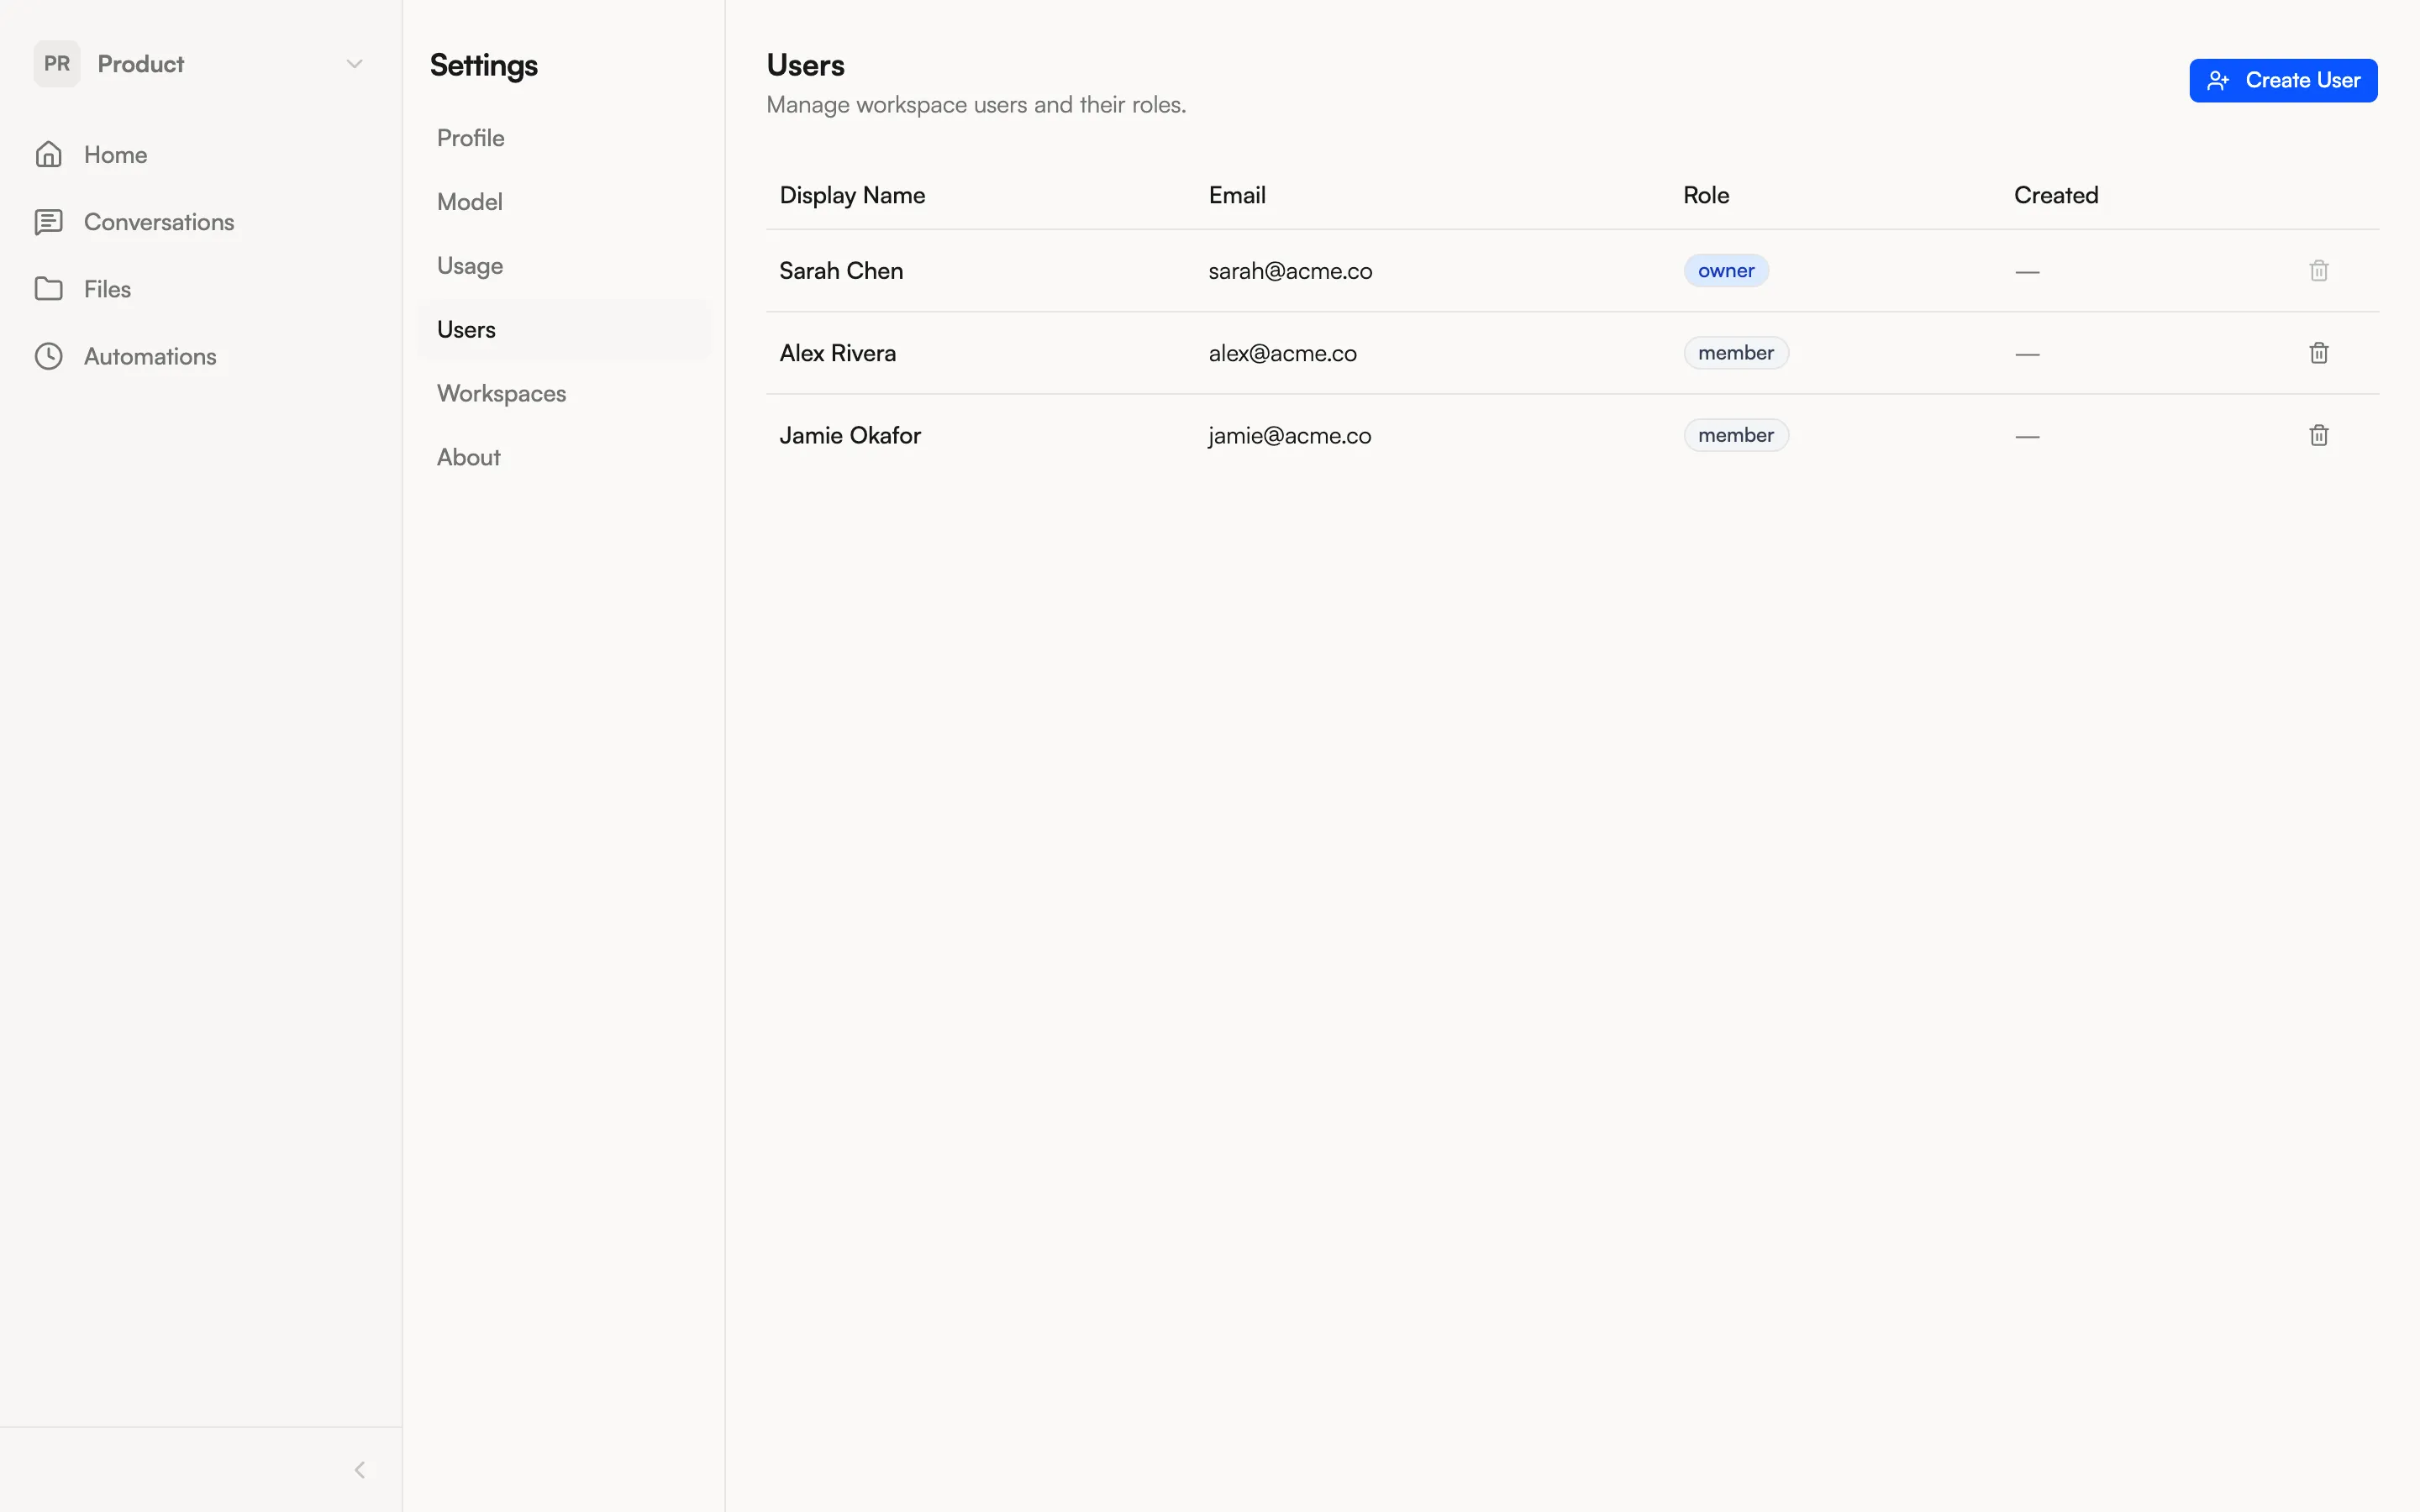
Section titled “Inviting users”To add someone to your NimbleBrain instance:
- Open Settings from the workspace selector dropdown
- Go to the Users tab
- Enter the person’s email address in the invite field
- Click Add
The new user receives an account and can sign in. You’ll then need to add them to the appropriate workspace(s).
Adding members to a workspace
Section titled “Adding members to a workspace”To give a user access to a specific workspace:
- Go to Settings > Workspaces
- Click the workspace you want to manage
- Add the user and assign their role
Or ask the agent directly:
“Add sarah@example.com to the Engineering workspace as a member”
| Role | Manage members | Manage apps | View all conversations | Chat & use tools |
|---|---|---|---|---|
| Owner | Yes | Yes | Yes | Yes |
| Admin | Yes | Yes | Yes | Yes |
| Member | — | — | Shared only | Yes |
The key difference: Members can only see conversations that have been explicitly shared with them. Admins and the Owner can view all conversations in the workspace for oversight purposes.
Removing users
Section titled “Removing users”In the Users tab, click the delete icon next to a user to remove their account. This revokes their access but does not delete their past conversations.