What are Workspaces?
Workspaces are isolated containers that include:- Playbooks: AI-powered workflows with natural language instructions
- Connections: Installed integrations and their configurations
- API Tokens: Authentication tokens unique to each workspace
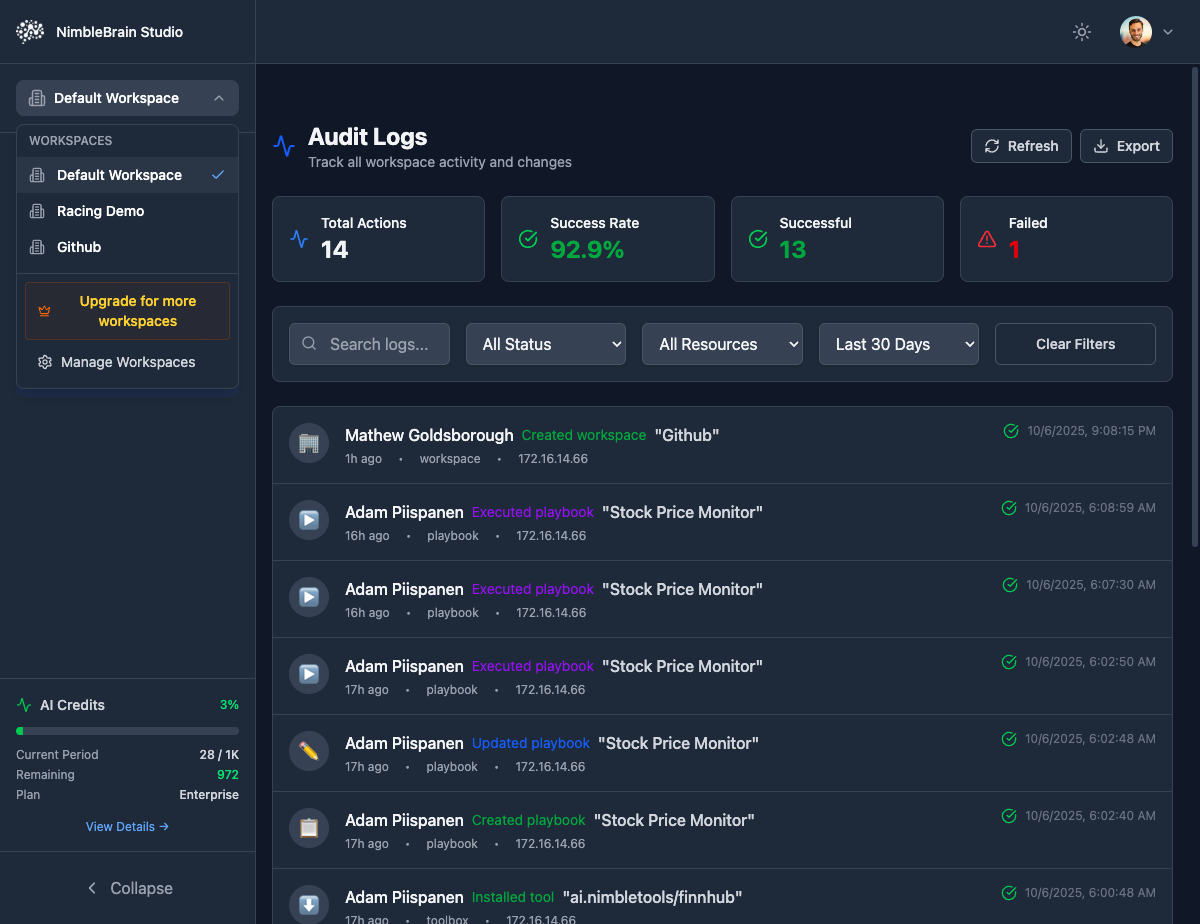
- Activity Logs: Audit trail of all workspace actions
- AI Credits: Usage tracking and billing per workspace
Think of workspaces like separate projects or environments (dev, staging, production).
Creating Workspaces
Enter Details
Fill in the workspace information:
- Name: Display name for the workspace
- Description (optional): Purpose of the workspace
Workspace Naming Rules
- Must be lowercase
- Can contain letters, numbers, and hyphens
- Must start with a letter
- 3-32 characters long
- Must be unique across your organization
Workspace names are used in server URLs:
https://mcp.nimbletools.dev/{workspace-id}/{server-id}/mcpSwitching Workspaces
Quickly switch between workspaces:Use keyboard shortcut
Cmd/Ctrl + Shift + W to quickly open the workspace switcherWorkspace Settings
Access workspace settings from the Settings tab:General Settings
Display name for the workspace (can be changed)
Immutable UUID identifier used in URLs
Optional description to help identify the workspace purpose
Data center region (cannot be changed after creation)
Access Control
Manage team member access to this workspace:| Role | Permissions |
|---|---|
| Owner | Full access including deletion and billing |
| Admin | Manage servers, secrets, and team members |
| Developer | Deploy servers, view logs, manage secrets |
| Viewer | Read-only access to servers and configuration |
Resource Quotas
View and manage resource limits for the workspace:Max Servers
Total number of deployable servers
Max Replicas
Combined replica count across all servers
Storage
Total storage for logs and data
Resource quotas vary by plan. Upgrade your plan to increase limits.
Workspace Tokens
Generate tokens for CLI and API access:Token Types
- Standard Token
- Long-Lived Token
- Read-Only Token
- Expires after 30 days
- Used for CLI authentication
- Can be refreshed
Generating Tokens
Store tokens securely. Anyone with a token can access your workspace!
Using Tokens with CLI
Deleting Workspaces
This action cannot be undone! All servers, secrets, and configuration will be permanently deleted.
Before Deleting
Make sure to:- ✅ Remove all servers (or they’ll be forcibly terminated)
- ✅ Export any logs or data you need
- ✅ Update any integrations using this workspace
- ✅ Notify team members with access
- ✅ Revoke all workspace tokens
Workspace Best Practices
Separate Environments
Separate Environments
Create distinct workspaces for development, staging, and production. This prevents accidental changes to production servers.
Descriptive Naming
Descriptive Naming
Use clear names like
company-app-prod or john-experiments to quickly identify workspace purposes.Least Privilege Access
Least Privilege Access
Grant team members the minimum role necessary. Use Viewer role for stakeholders who only need visibility.
Regular Token Rotation
Regular Token Rotation
Rotate workspace tokens every 30-90 days. Revoke old tokens after rotation.
Monitor Resource Usage
Monitor Resource Usage
Regularly check resource quotas to ensure you have headroom for growth.